Application Load Balancer
The Application Load Balancer feature prevents the overloading of a single server. It efficiently distributes incoming requests to multiple available backend servers. This process involves real-time mediation of client requests, where the load balancer directs the traffic to the most suitable backend servers for optimal processing.
To configure pfSense Firewall and Application Load Balancer, follow these steps:
To set up the Virtual Firewall on Ananta Cloud, refer to the Creating a Virtual Firewall page.
- To view the details of the pfSense Firewall, click the Virtual Firewall Name highlighted in blue.
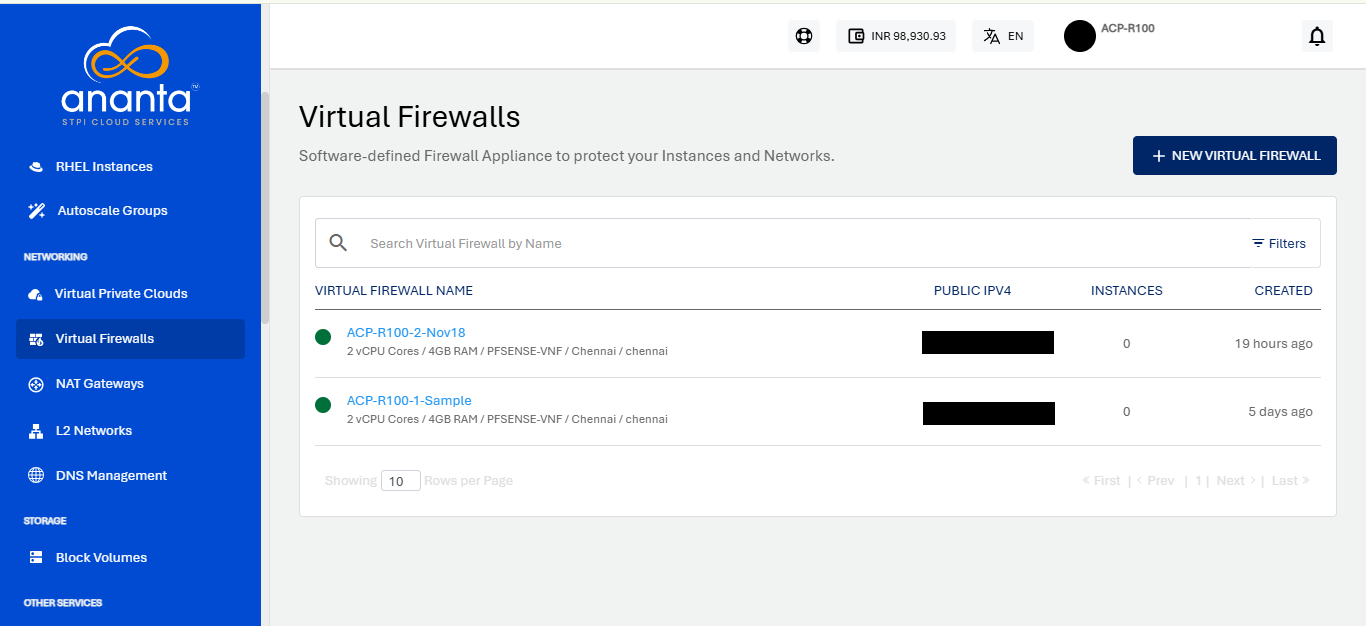
- To launch your pfSense account, click on LAUNCH CONSOLE.
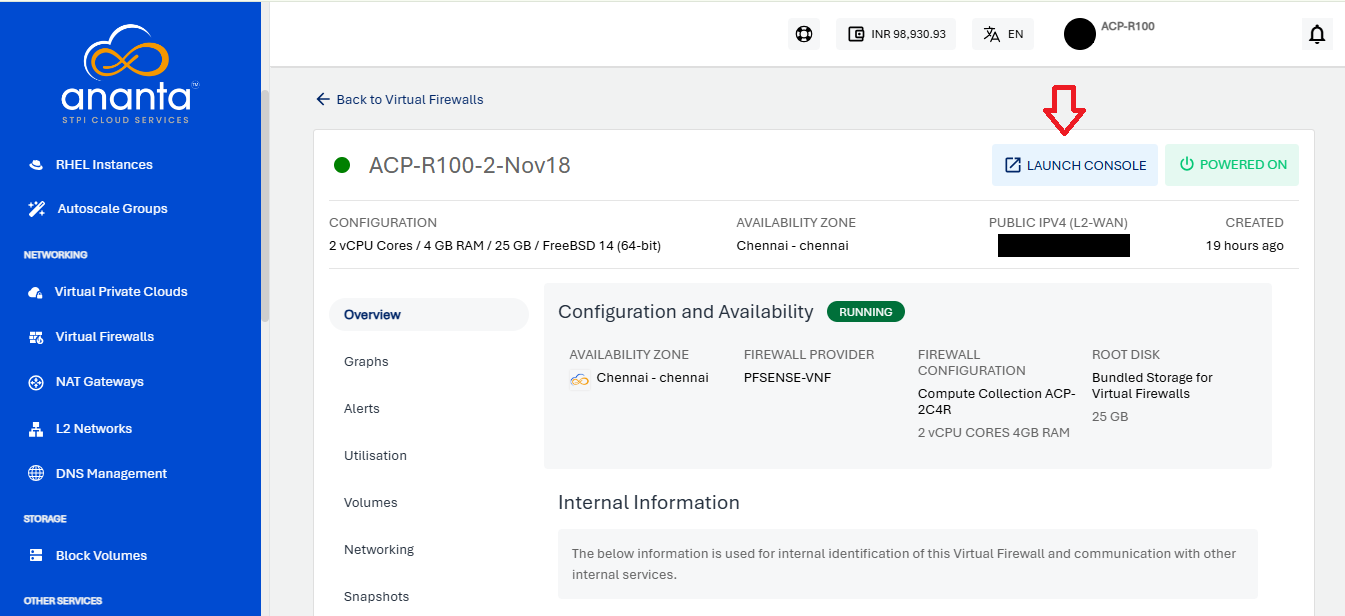
- You will get the mail on your registered mail id with login credentials..
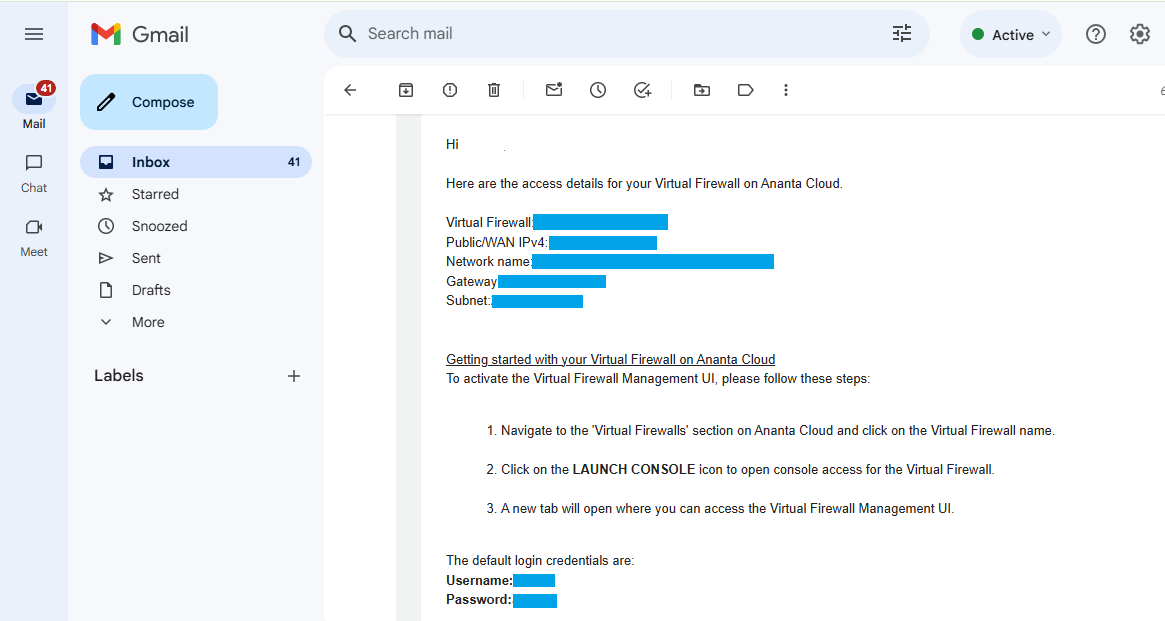
- Enter the Username and Password to log in to the pfSense firewall GUI.

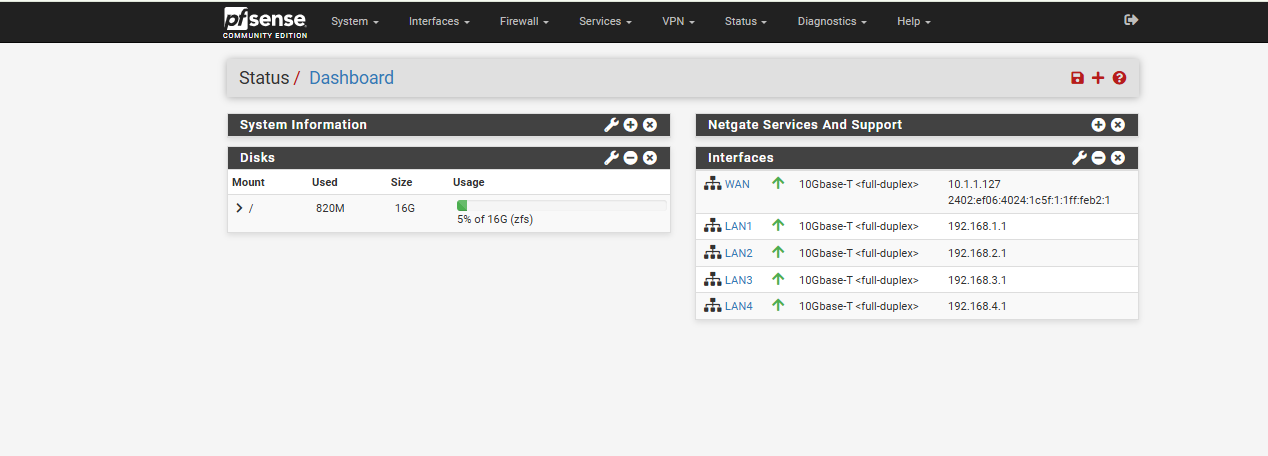
- You will see the pfSense dashboard on the screen.
- Deploy Application VM
- Navigate to the Create Linux Instance tab.
- Deploy the application VM in the desired tier.
- Perform the required application installation on the application VMs.
- Navigate to System > Certificates > Certificates, Click on Add/Sign.
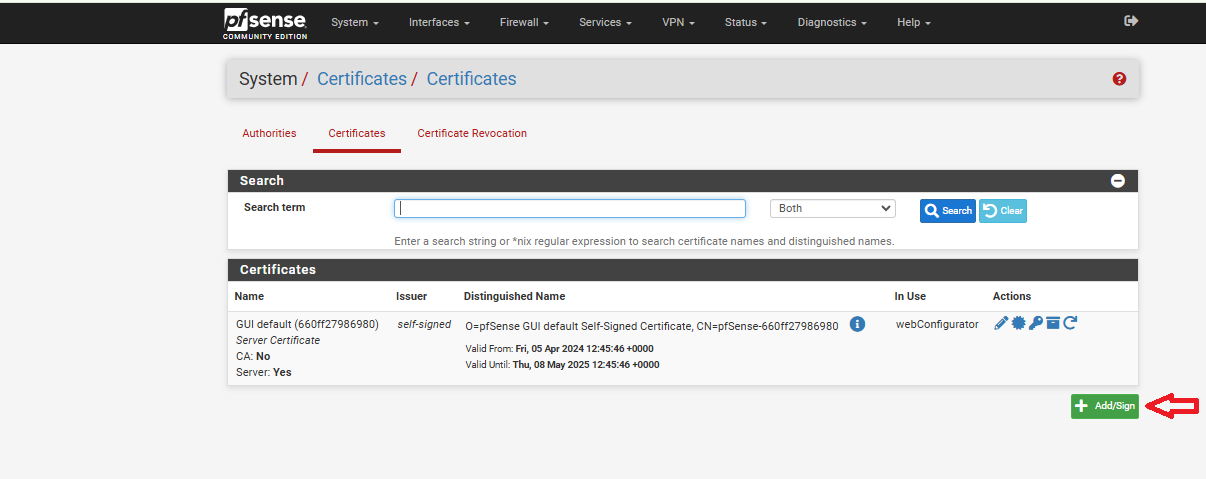
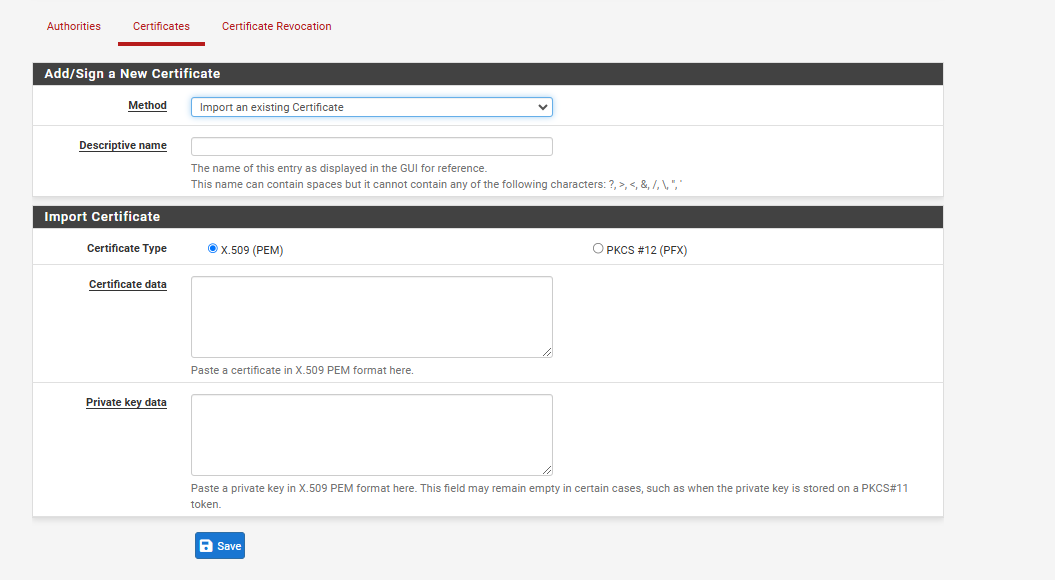
- Specify the following:
- Method - Select Import an existing certificate option from the dropdown.
- Descriptive Name - Enter a valid name without using any special characters (mentioned in the screenshot below)
- Certificate Type - Select X.509 PEM as your certificate type.
- Certificate Data - Paste your certificate data.
- Private Key Data - Paste your private key data.
- Leave other options at their default values.
- Click Save and Apply Changes.
 Now your certificates are ready and your can start configuring HAProxy.
note
Now your certificates are ready and your can start configuring HAProxy.
noteIf you wish to use an unsecured connection (e.g. port 80), you can skip this step.
To configure the backend and frontend in HAProxy, follow these steps:
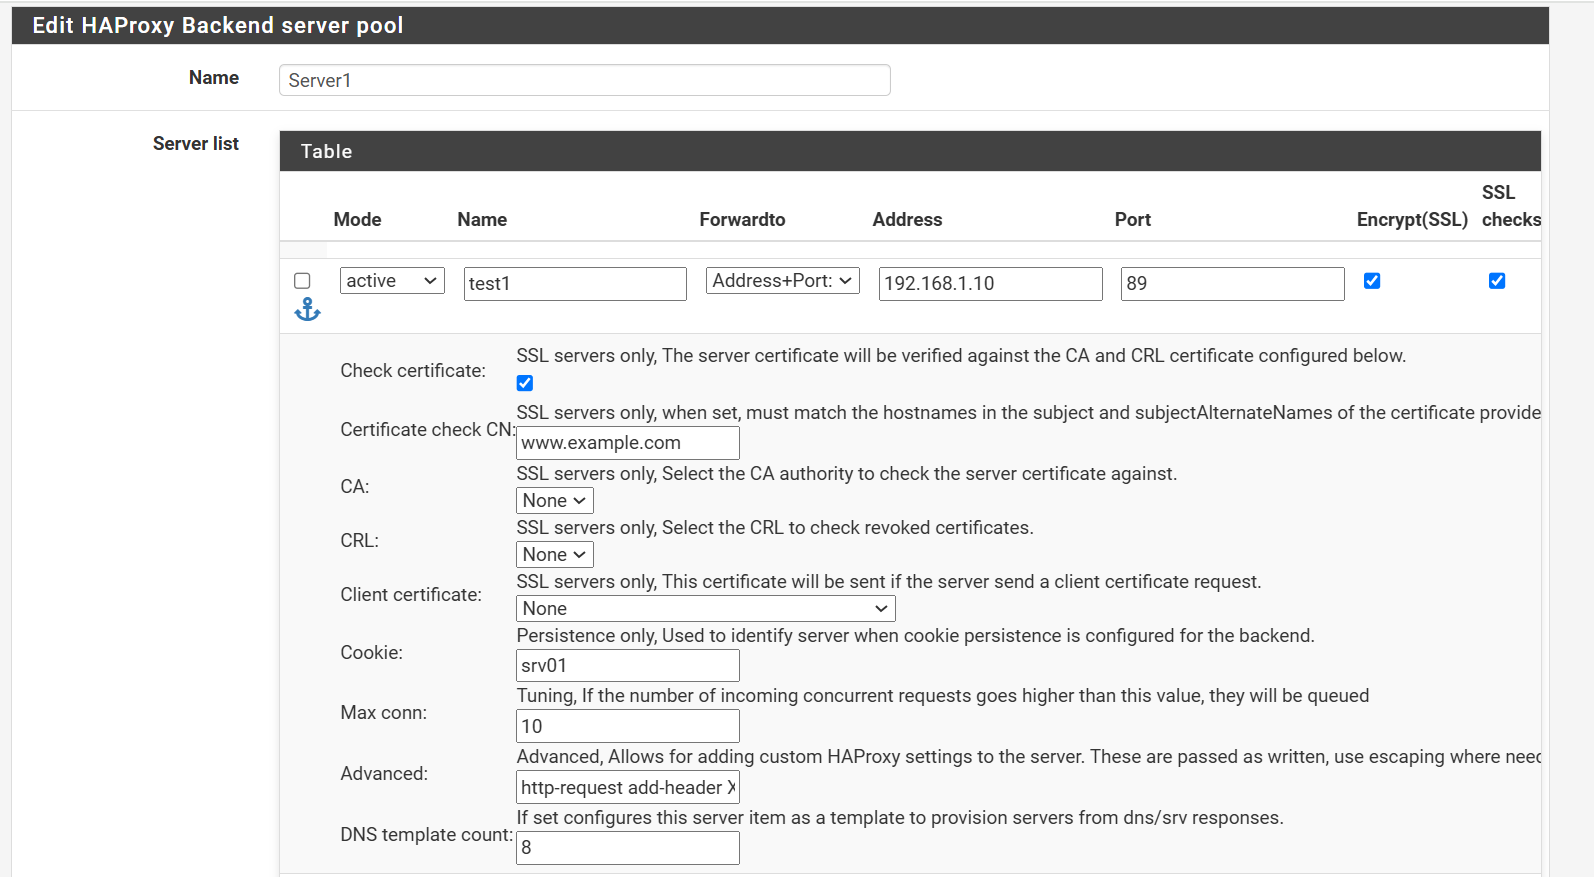
- Navigate to the Backend tab in HAProxy, click Add to create a new backend.

- Specify the following:
- Name - Provide a name for the backend.
- Server List - Add the IP addresses of backend servers.
- Leave other options at their default values.
- Click Save and Apply Changes.
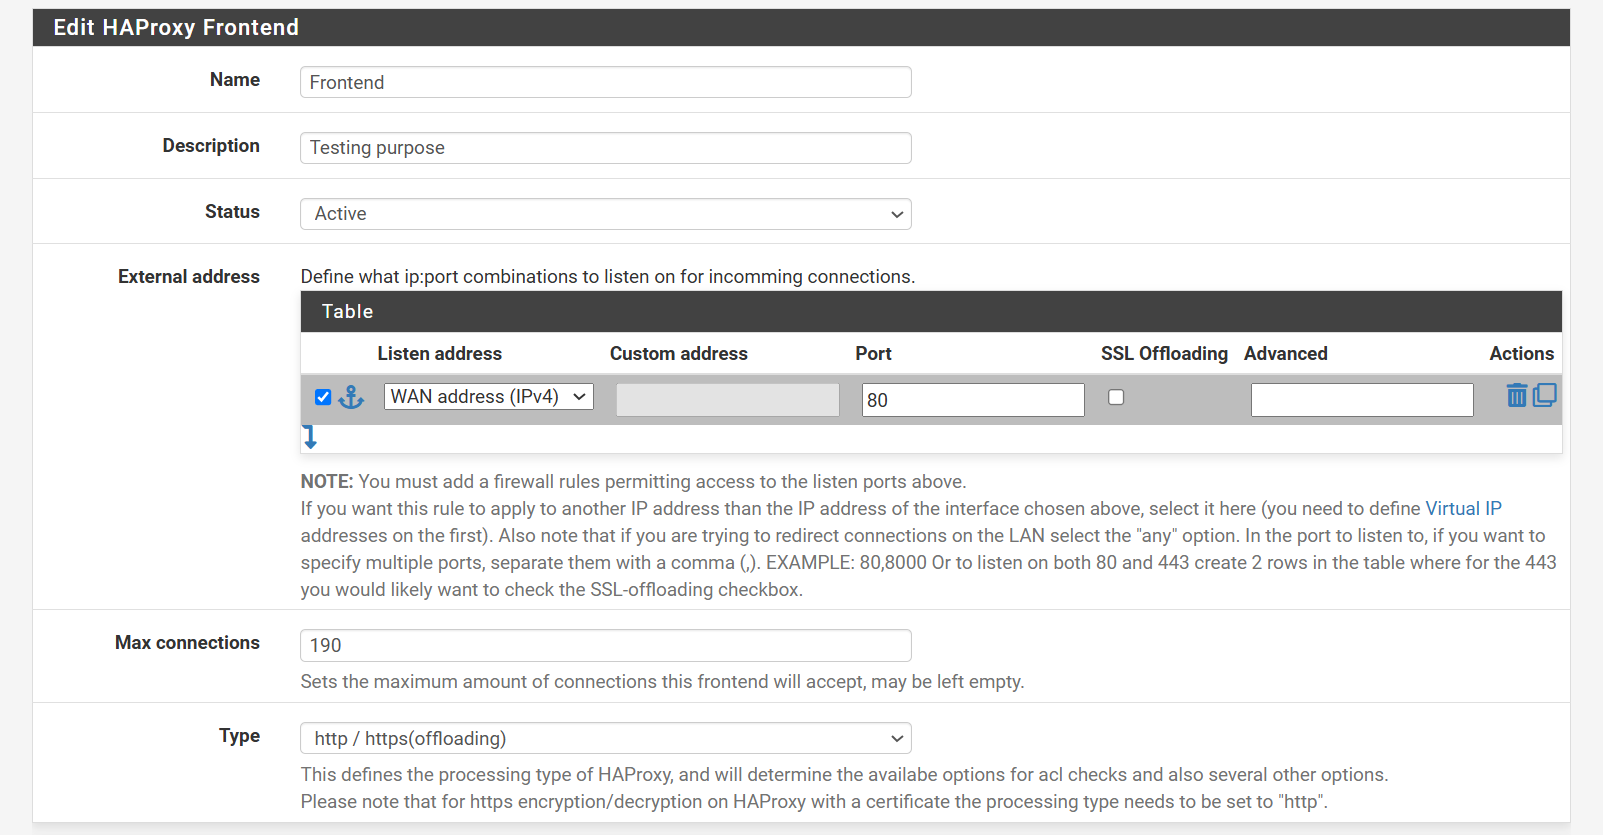
- Navigate to the Frontend tab in HAProxy, click Add to create a new frontend.

- Specify the following:
- Name - Provide a name for the frontend.
- Description - Add a brief description.
- External Address - Define the external address.
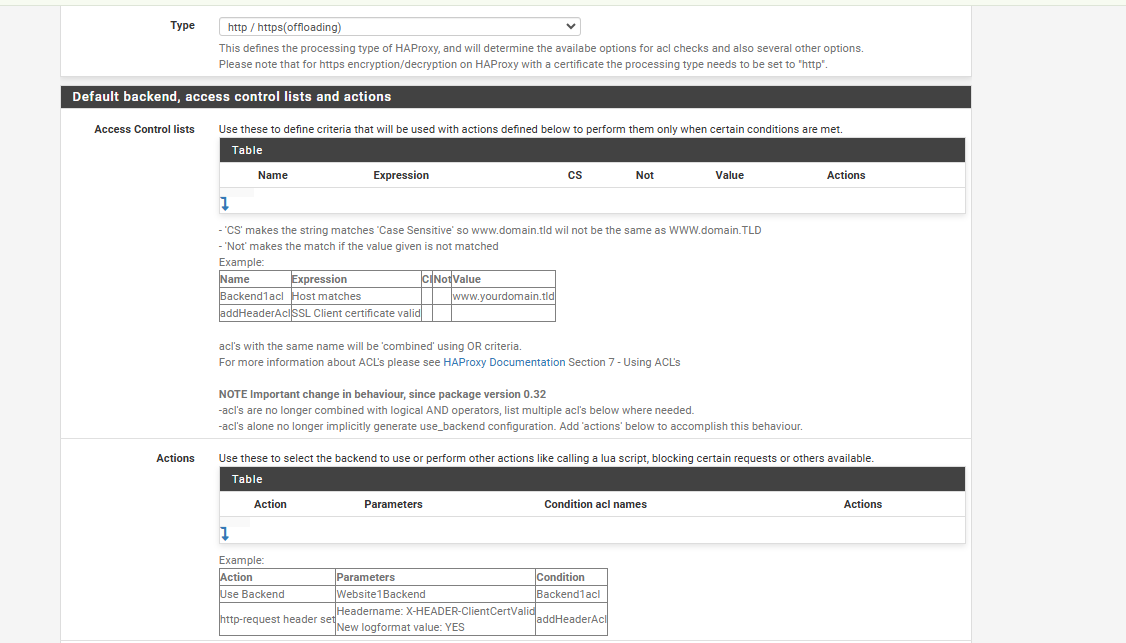
- Type - Choose the appropriate type.
- Access Control Lists - Specify any ACL rules.
- Actions - Define the required actions.
- Default Backend - Link to the corresponding backend.
- Use "forwardfor" Option - Select this option to generate an HTTP "X-Forwarded-For" header that includes the client's IP address.
- Certificate - Link the imported SSL certificate.
- Leave other options at their default values.
- Click Save and Apply Changes.
After completing the above steps, test your application by entering its domain name in the browser's address bar.