Creating RHEL Instances
Before creating a RHEL instance, it is important to plan the architecture, networking and access to the RHEL Instances.
To create a RHEL instance, follow these steps:
- Navigate to Compute > RHEL Instances. The following screen appears:
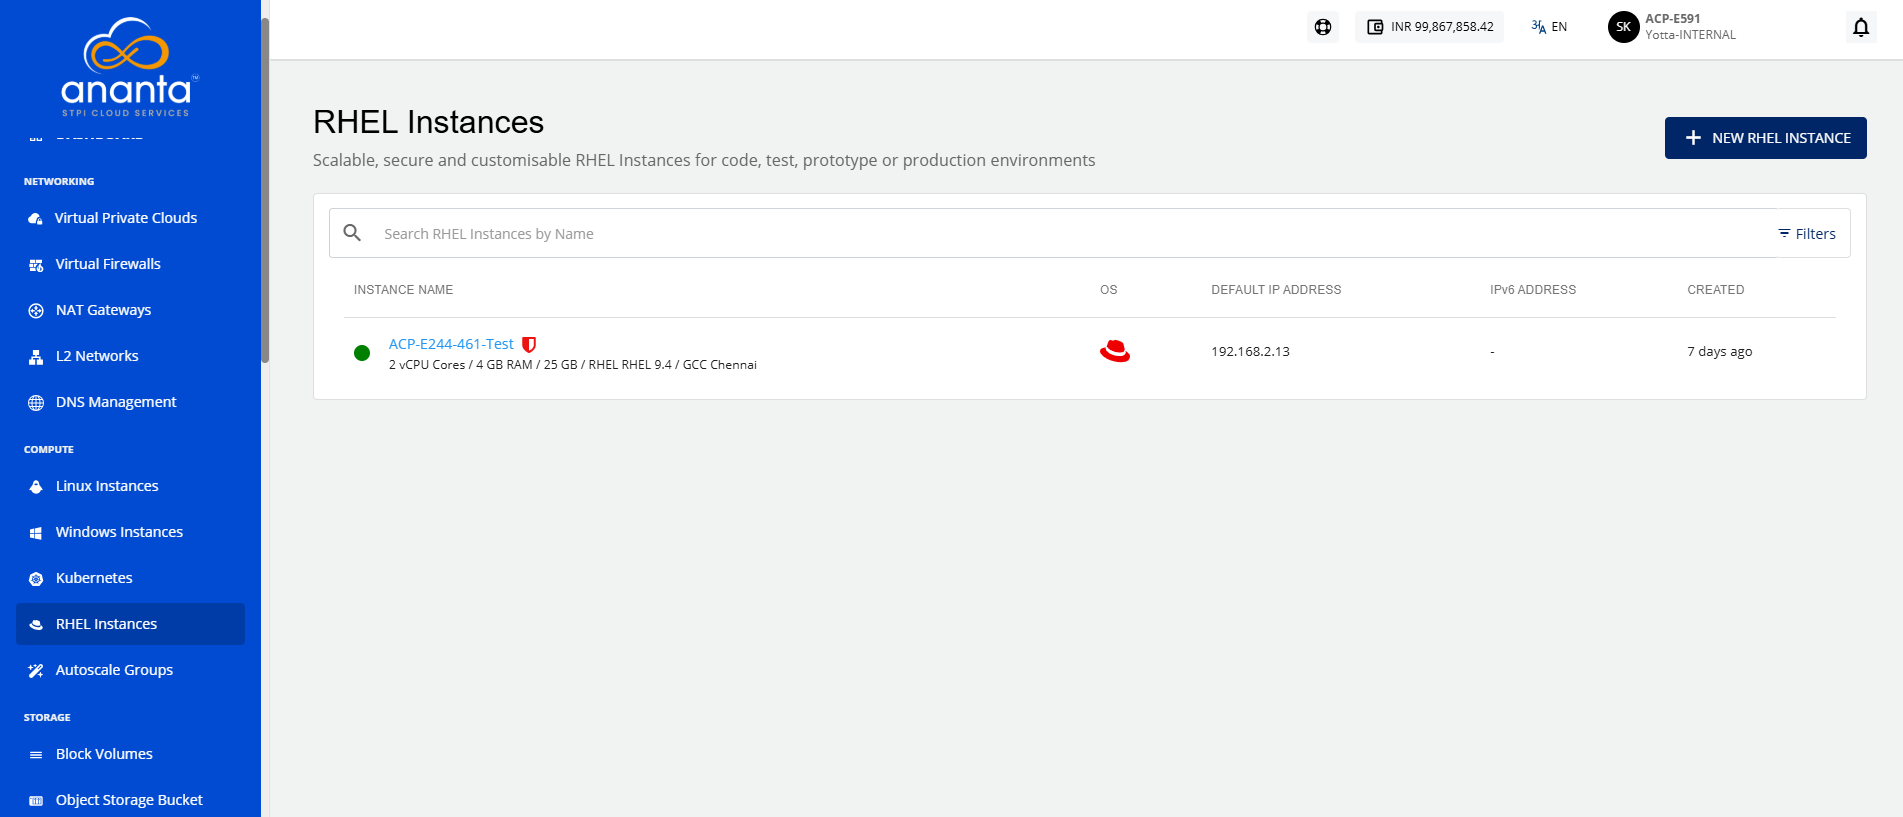
- Click the New RHEL Instance button. The following screen appears:
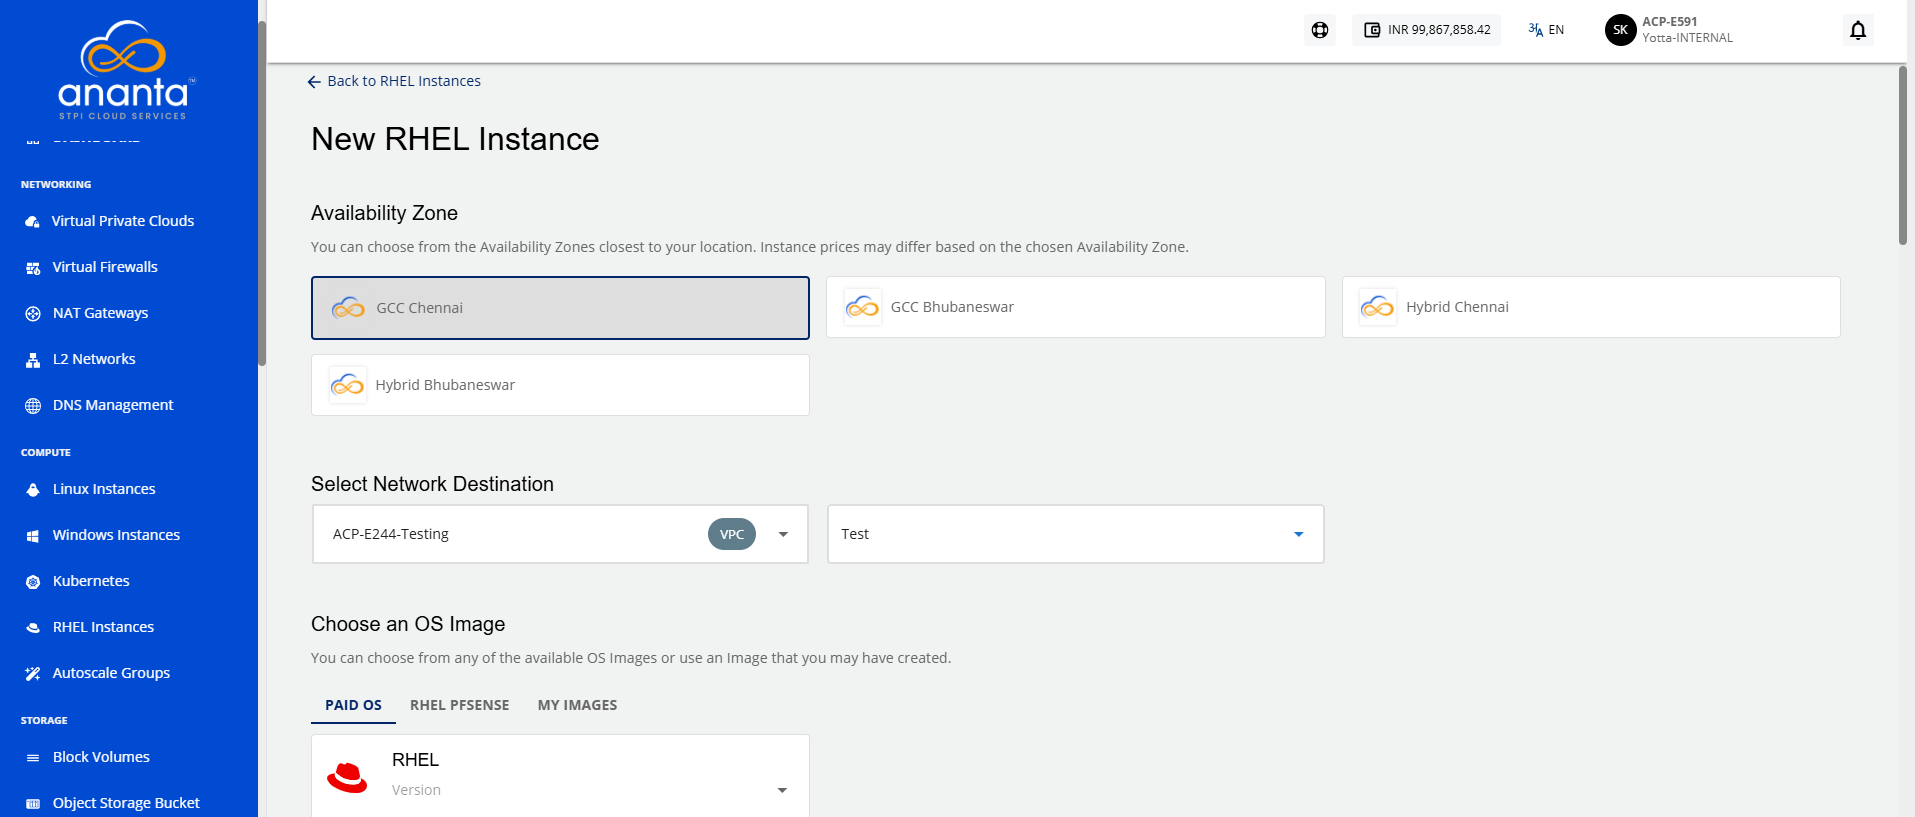
- Choose an Availability Zone, which is the geographical region where your Instance will be deployed.
- Select the Destination and then the Network from the drop-downs.
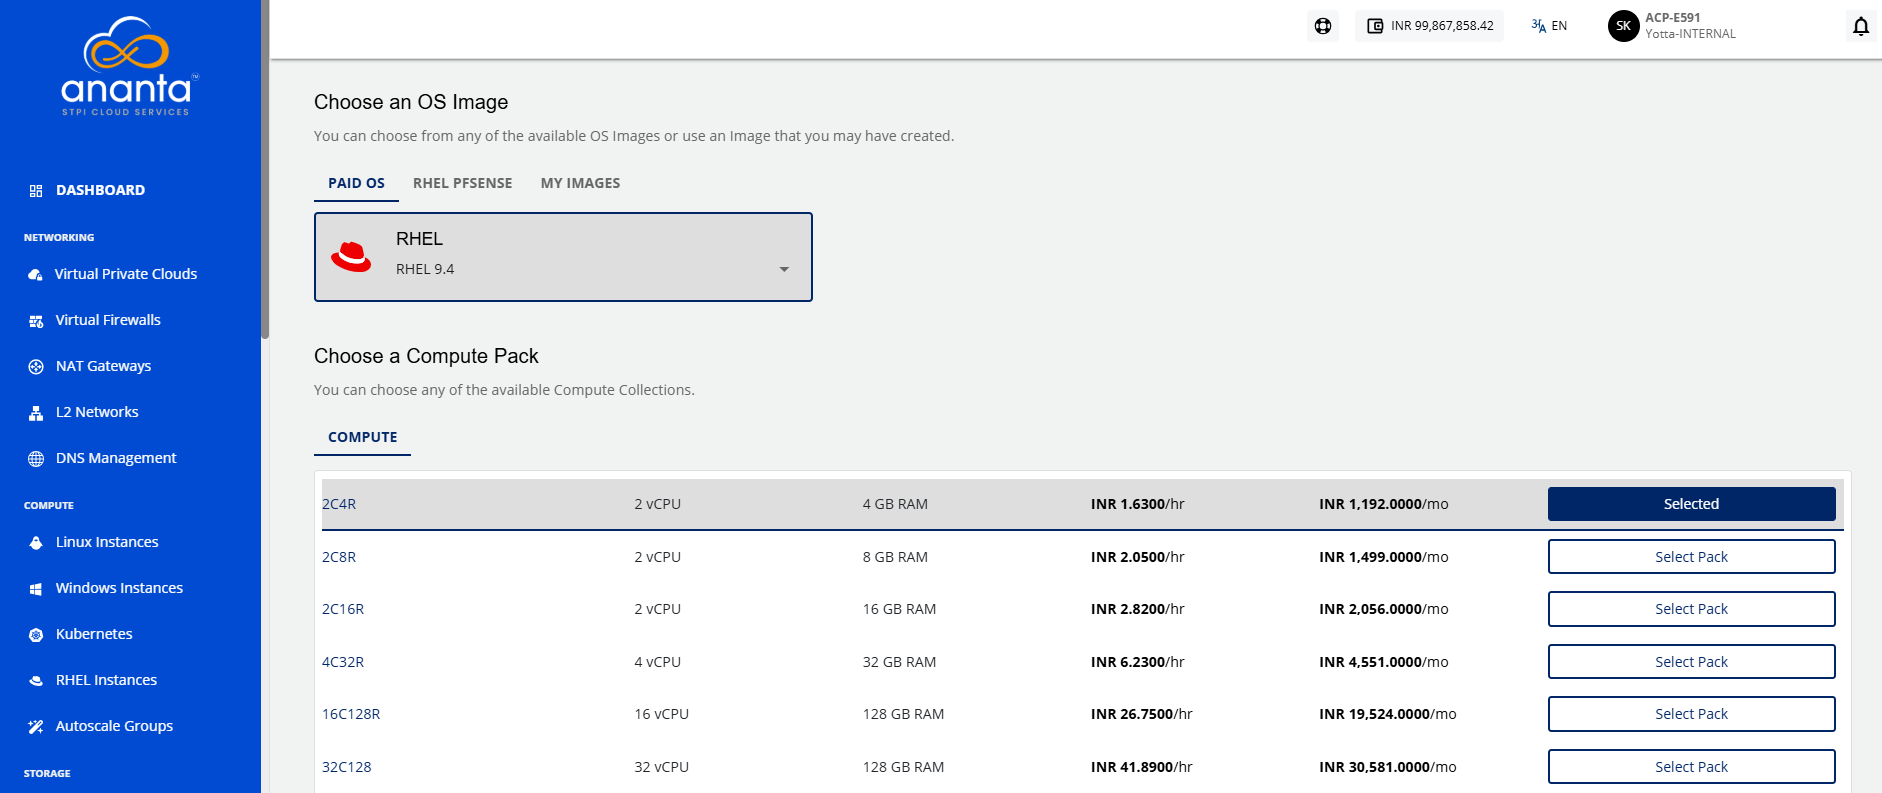
- Choose an OS Image to run on your Instance. You can also select the image from the My Images tab.
note
To learn how to upload a custom instance image, refer to the Uploading Custom Image page.
- Choose a Compute Pack from the available compute collections.
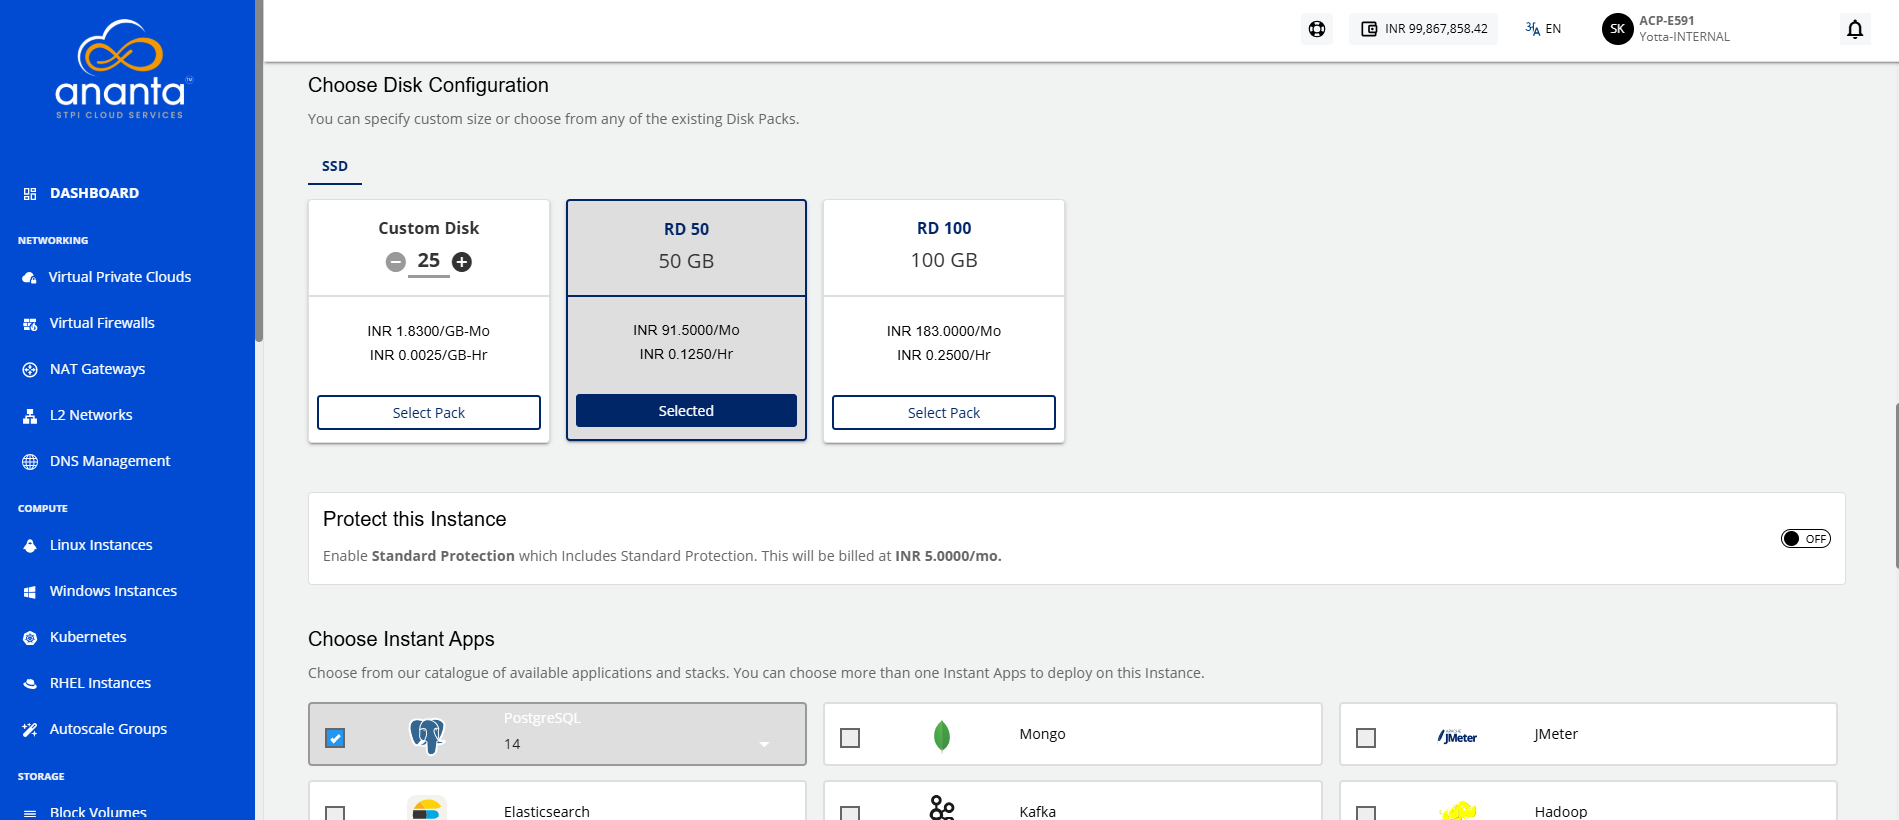
- Choose Disk Configuration from the available SSD/HDD disk packs, or you can use the free size option to specify the root disk.
note
The NGC offers both encrypted and non-encrypted offerings. To learn more about it, refer Disk Offerings.
- Select the option to Protect this Instance.
- Choose an Authentication Method:
- Use SSH key pair: Clicking on the Use SSH key pair option, all the SSH key pairs present in your account will be listed; if your account doesn’t have any SSH key pair, then you can click the Generate a new key pair option or upload the key pair by clicking the Upload a key pair option.
- Use root user password: On selecting Use root user password, Also email me the password option is displayed. If you select this option, the password, along with the details, for instance, will be emailed to your registered email ID.
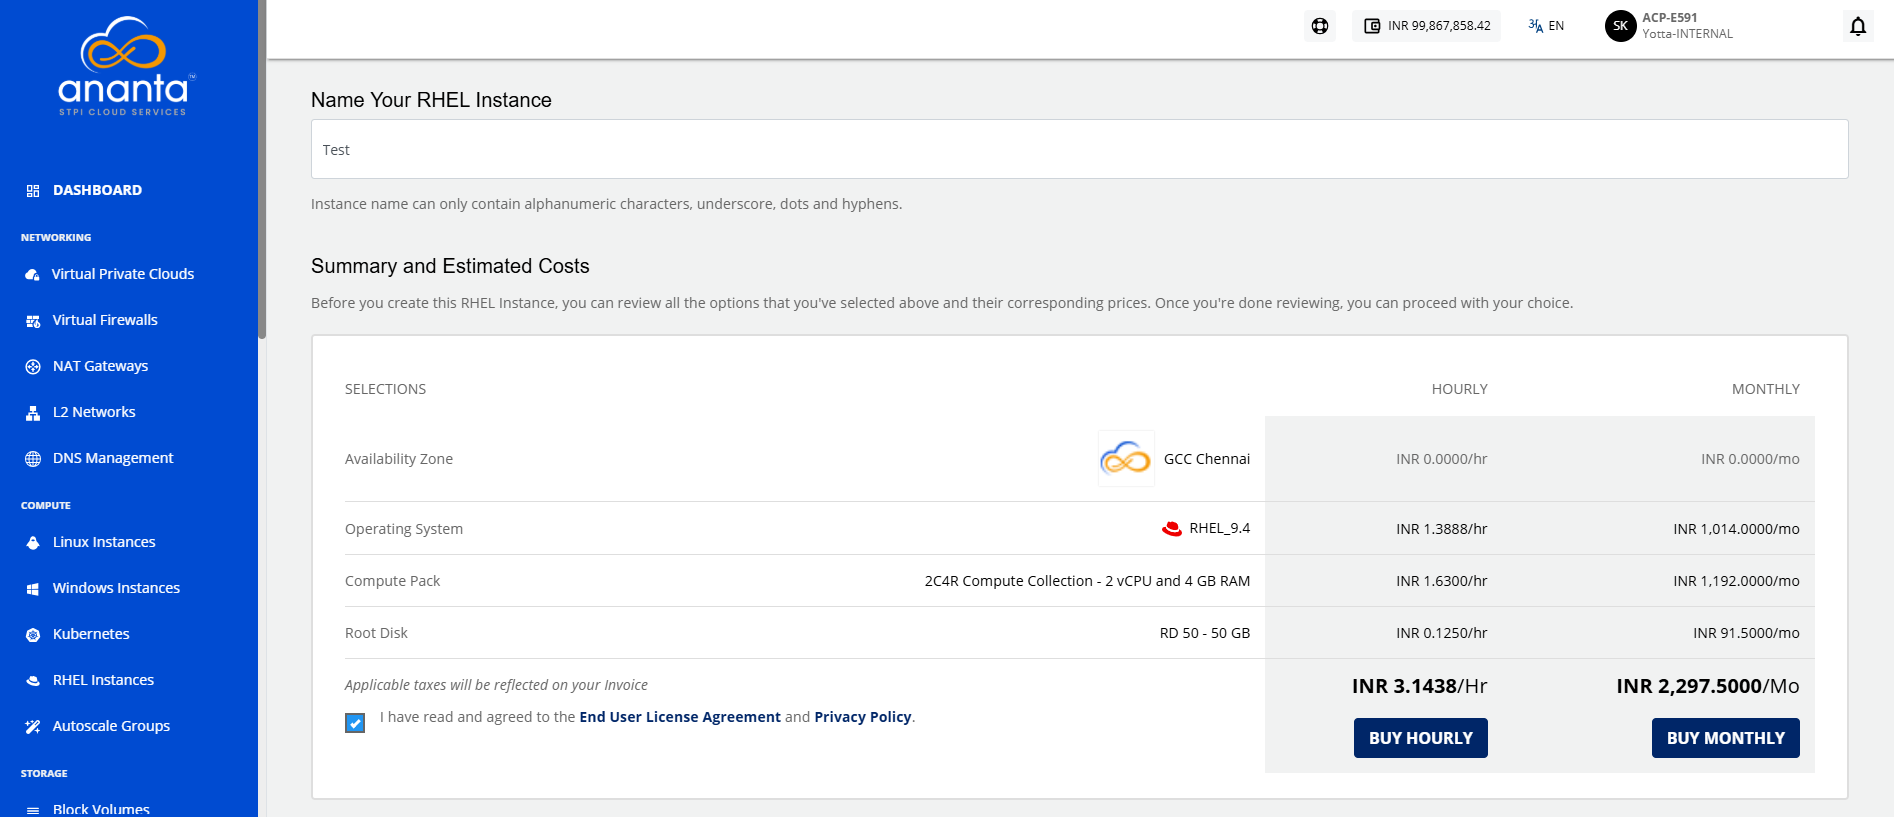
- In the Name Your RHEL Instance field, enter the desired name for your RHEL instance.
- Verify the Estimated Cost of your RHEL Instance based on the specifications you have chosen from the Summary and Estimated Costs section (Here both Hourly and Monthly Prices summary will be displayed).
- After reviewing the policies mentioned by your cloud service provider, click the I have read and agreed to the End User License Agreement and Privacy Policy option.
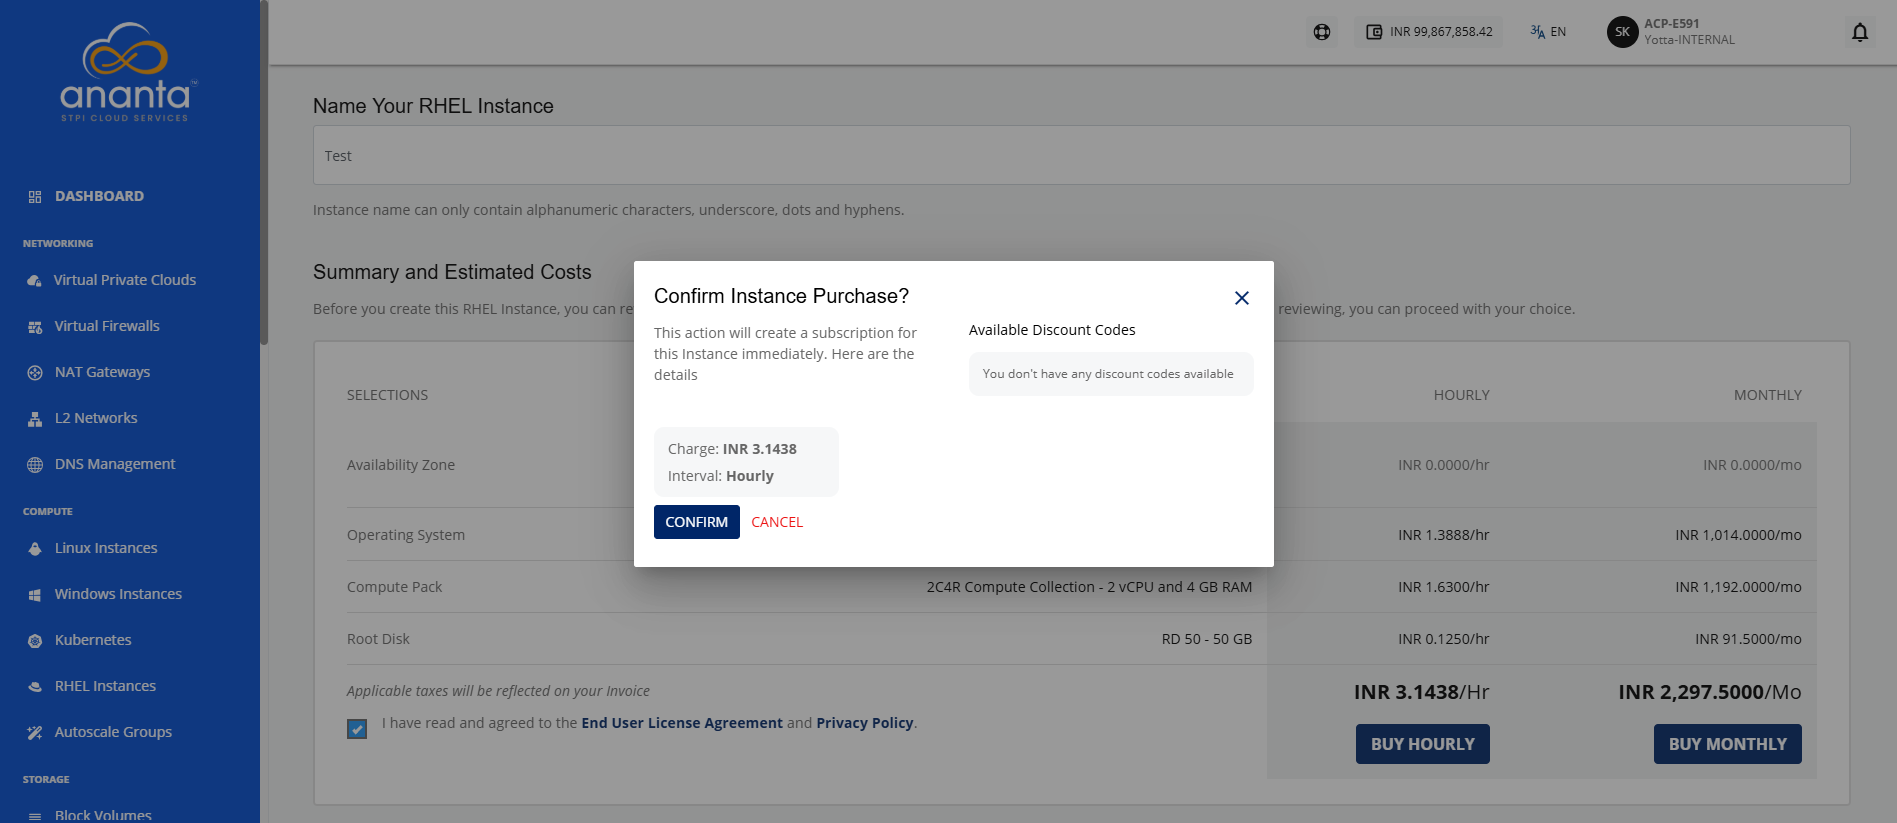
- Clicking on the Buy Hourly or Buy Monthly button, the Confirm Instance Purchase window appears, and the price summary is displayed along with the discount codes if you have any in your account.
- You can apply any of the discount codes listed by clicking on the Apply button.
- You can also remove the applied discount code by clicking the Remove button.
- Clicking on the Cancel button, this action will be canceled.
- Click Confirm to create the RHEL Instance.
note
It might take up to 5-8 minutes for the instance to create. You may use the Cloud Console during this time, but it is advised that you do not refresh the browser window.
Once ready, you get the notification of this purchase on your registered email address. To access the newly created RHEL Instances, navigate to Compute > RHEL Instances.