Create, List and View VPCs
This section explains how to create and view VPCs. Creating and viewing VPCs helps you organize your resources (instances), keep track of active networks, and quickly access details for management and troubleshooting.
The following are major topics covered in this section:
Creating a VPC
To do this, follow these steps:
-
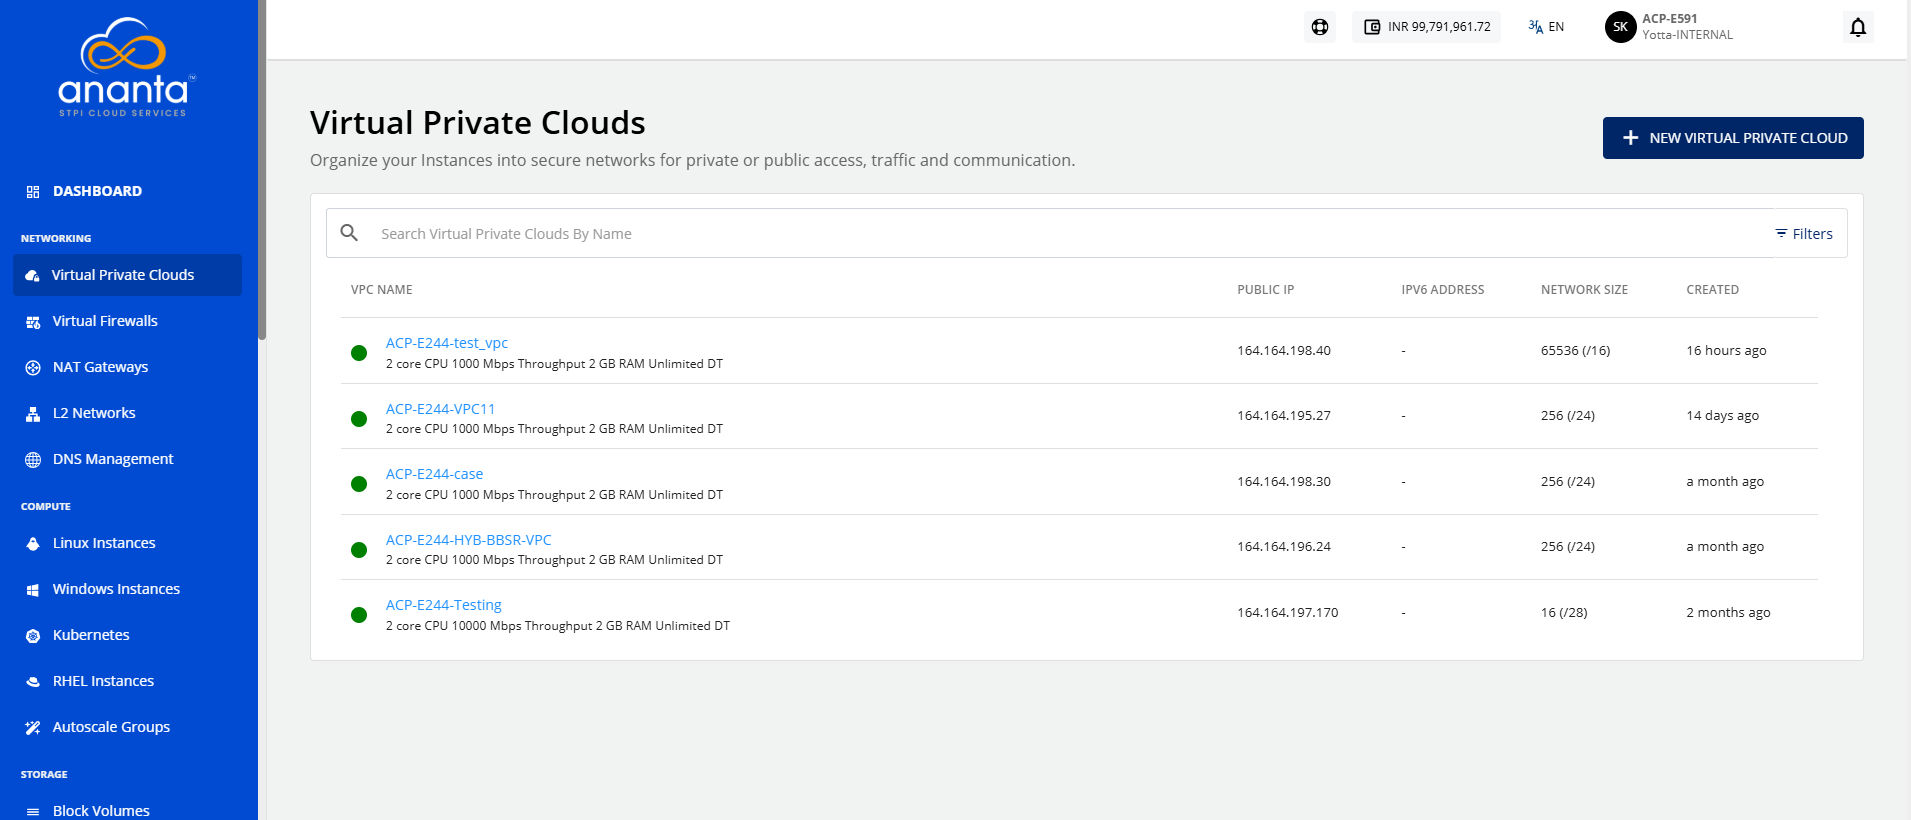
Navigate to Networking > Virtual Private Clouds. The following screen appears:
-
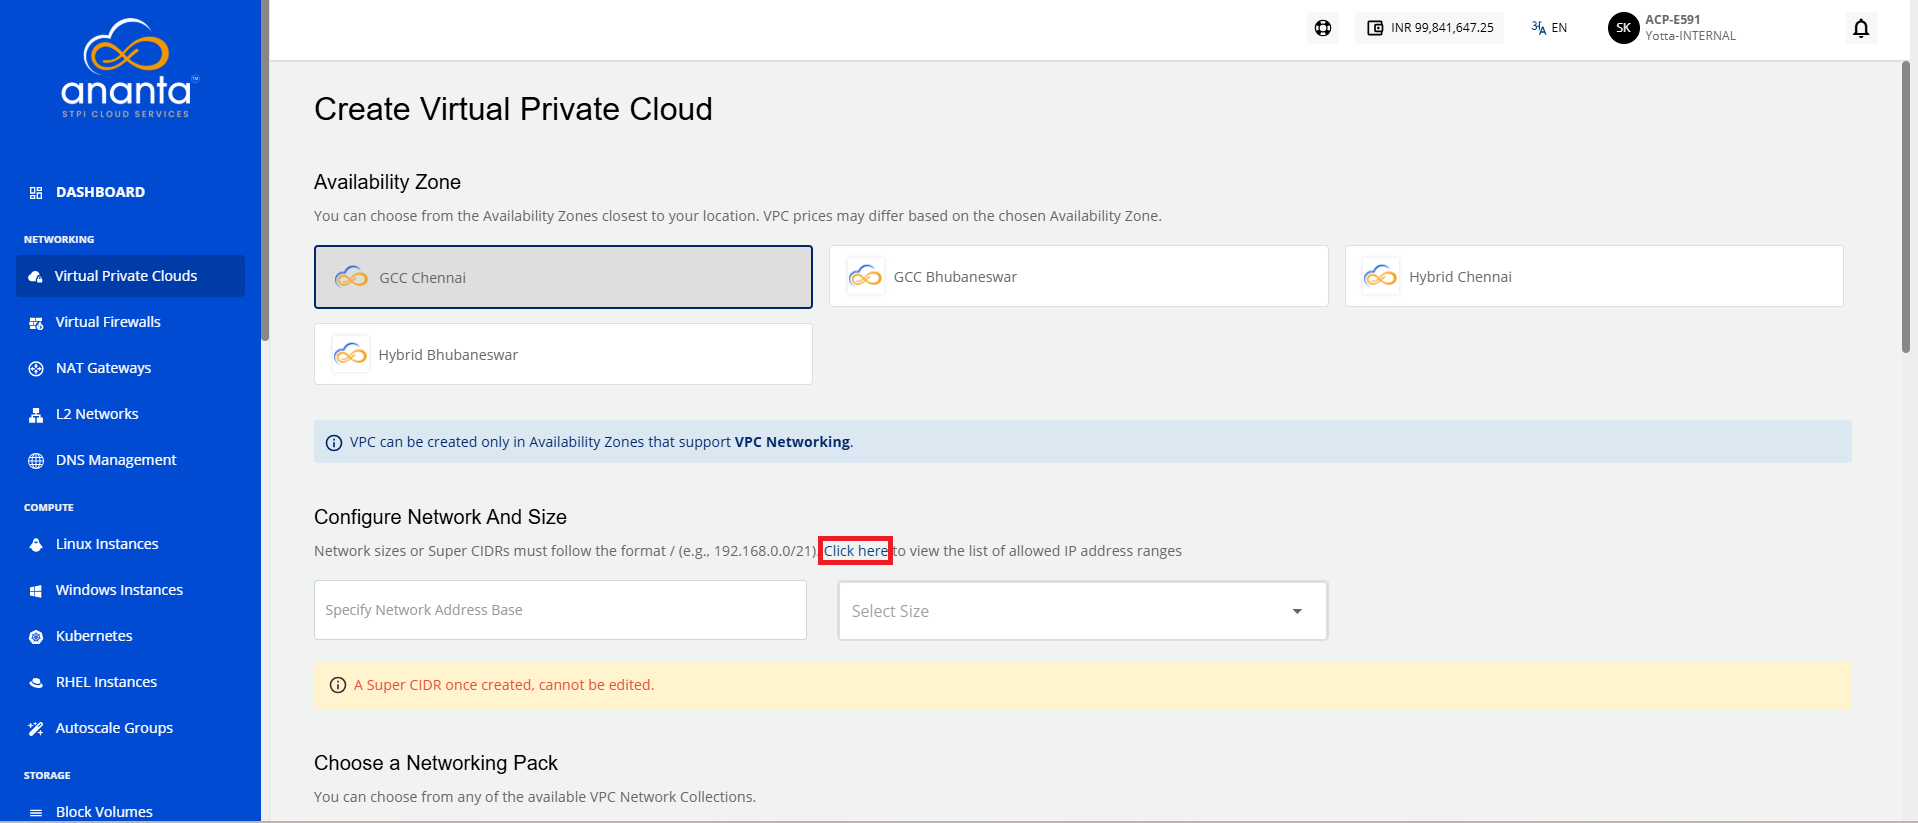
Click the New Virtual Private Cloud button. The following screen appears:
-
Choose the Availability Zone where you want to configure the VPC.
-
In the Configure Network and Size section, specify Network Address Base and select Size from the dropdown. For example: The super CIDRIt is the method of combining multiple continuous smaller CIDR blocks into a larger block to reduce the number of routes. for the internal IP allocation in an x.x.x.x/x format).
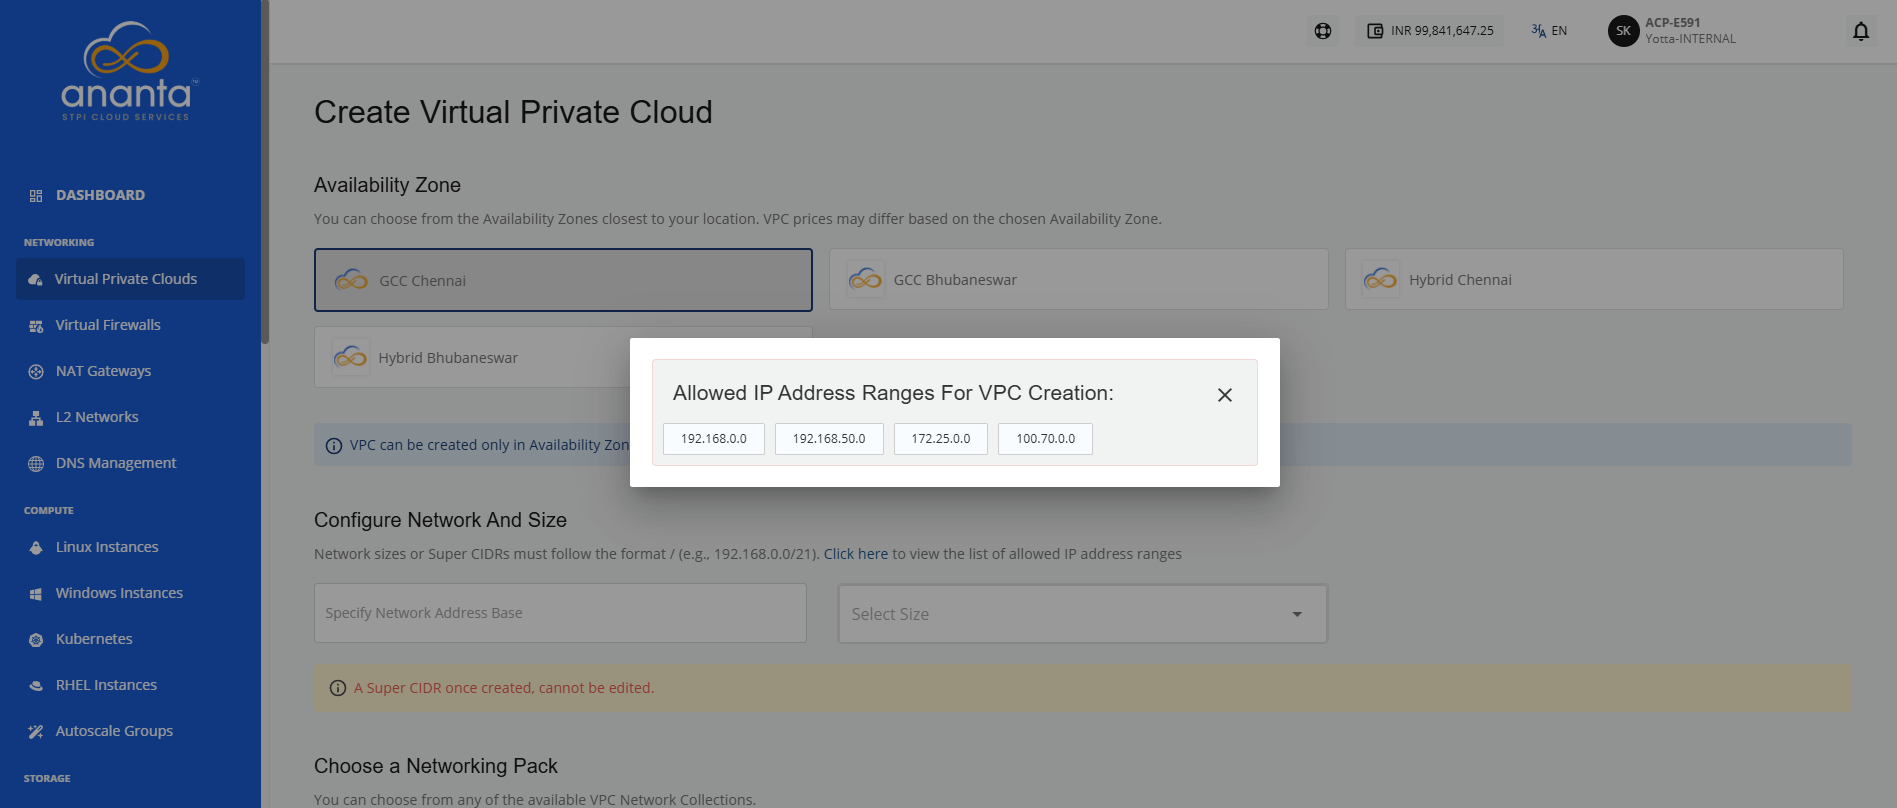
noteTo know allowed IP address ranges for VPC creation, select the click here link (highlighted in red).
-
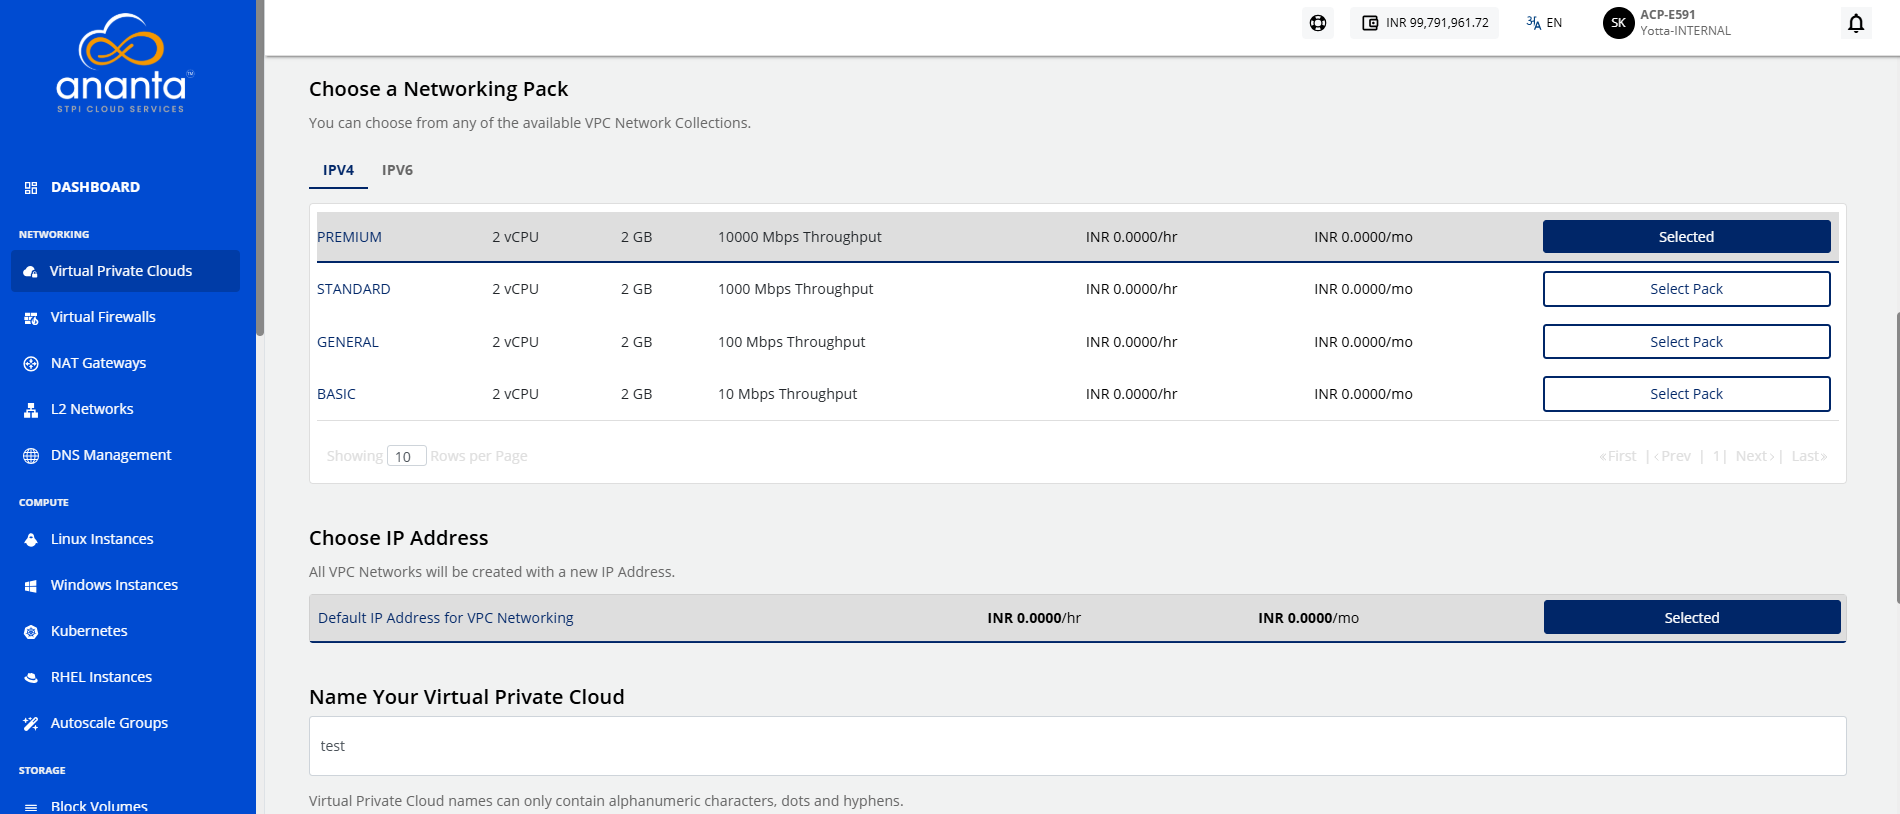
Choose a IPv4 or IPv6 networking pack.
noteTo configure IPv6 under a VPC, you must create a ticket with our support team for assistance.
-
To create the VPC with a new NICNET IP address, select Default IP Address for VPC Networking.
-
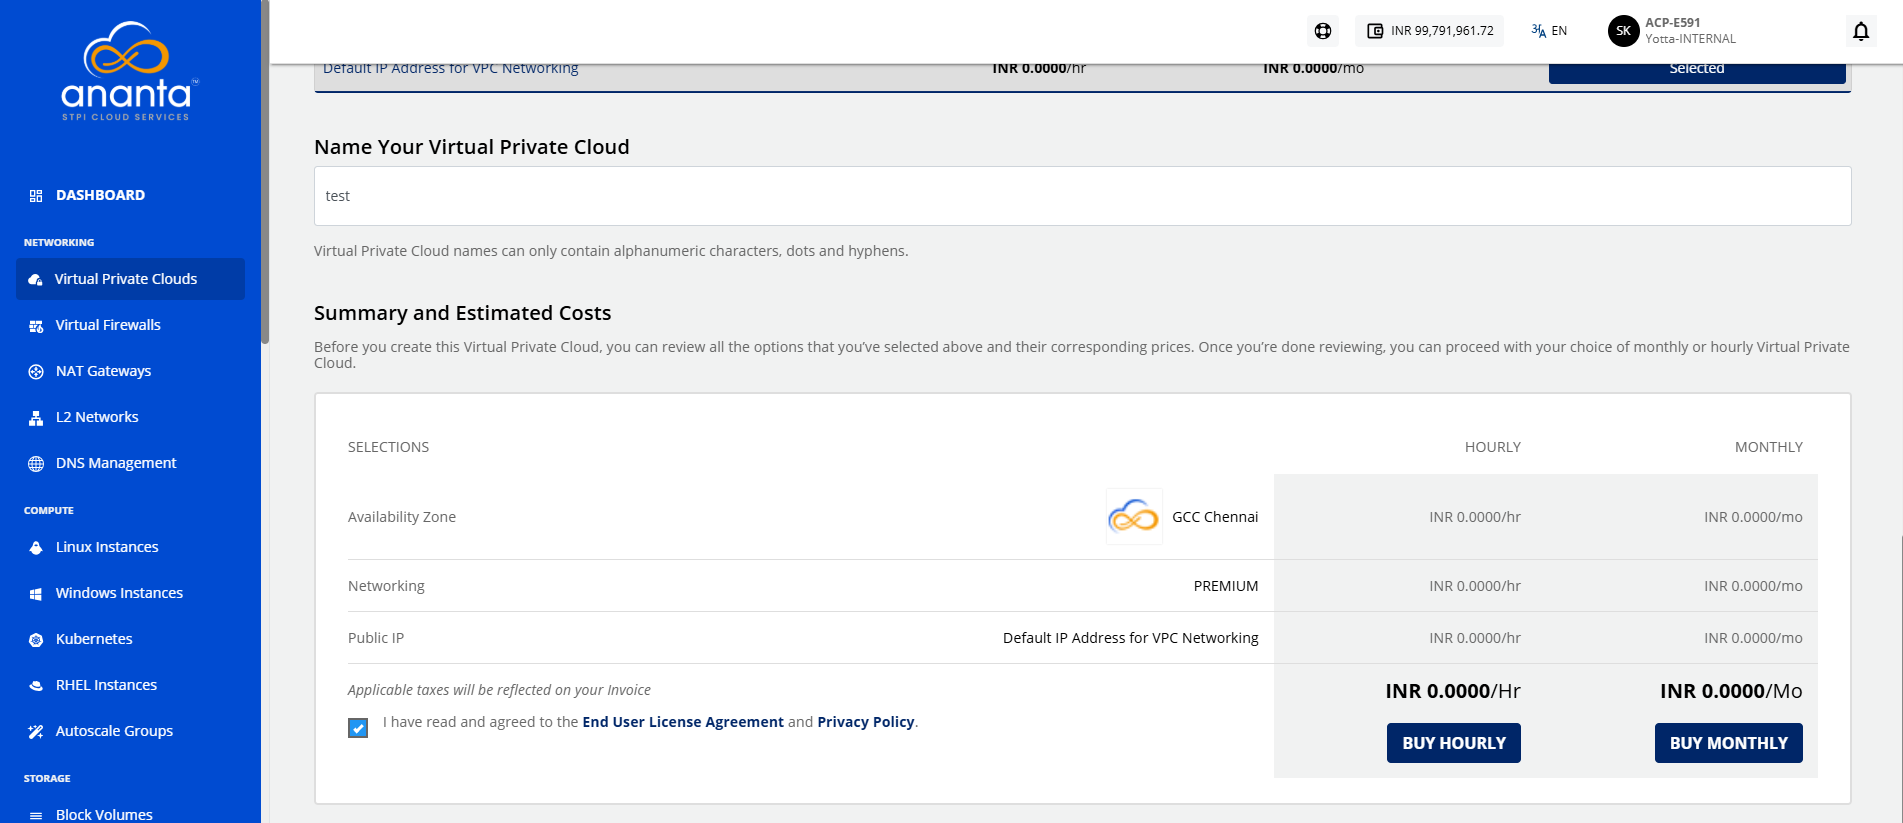
Enter the valid name in the Name your Virtual Private Cloud field.
-
Verify the Summary and Estimated Costs section (Here, both the hourly and monthly price summaries are displayed).
-
Select the I have read and agreed to the End User License Agreement and Privacy Policy option.
-
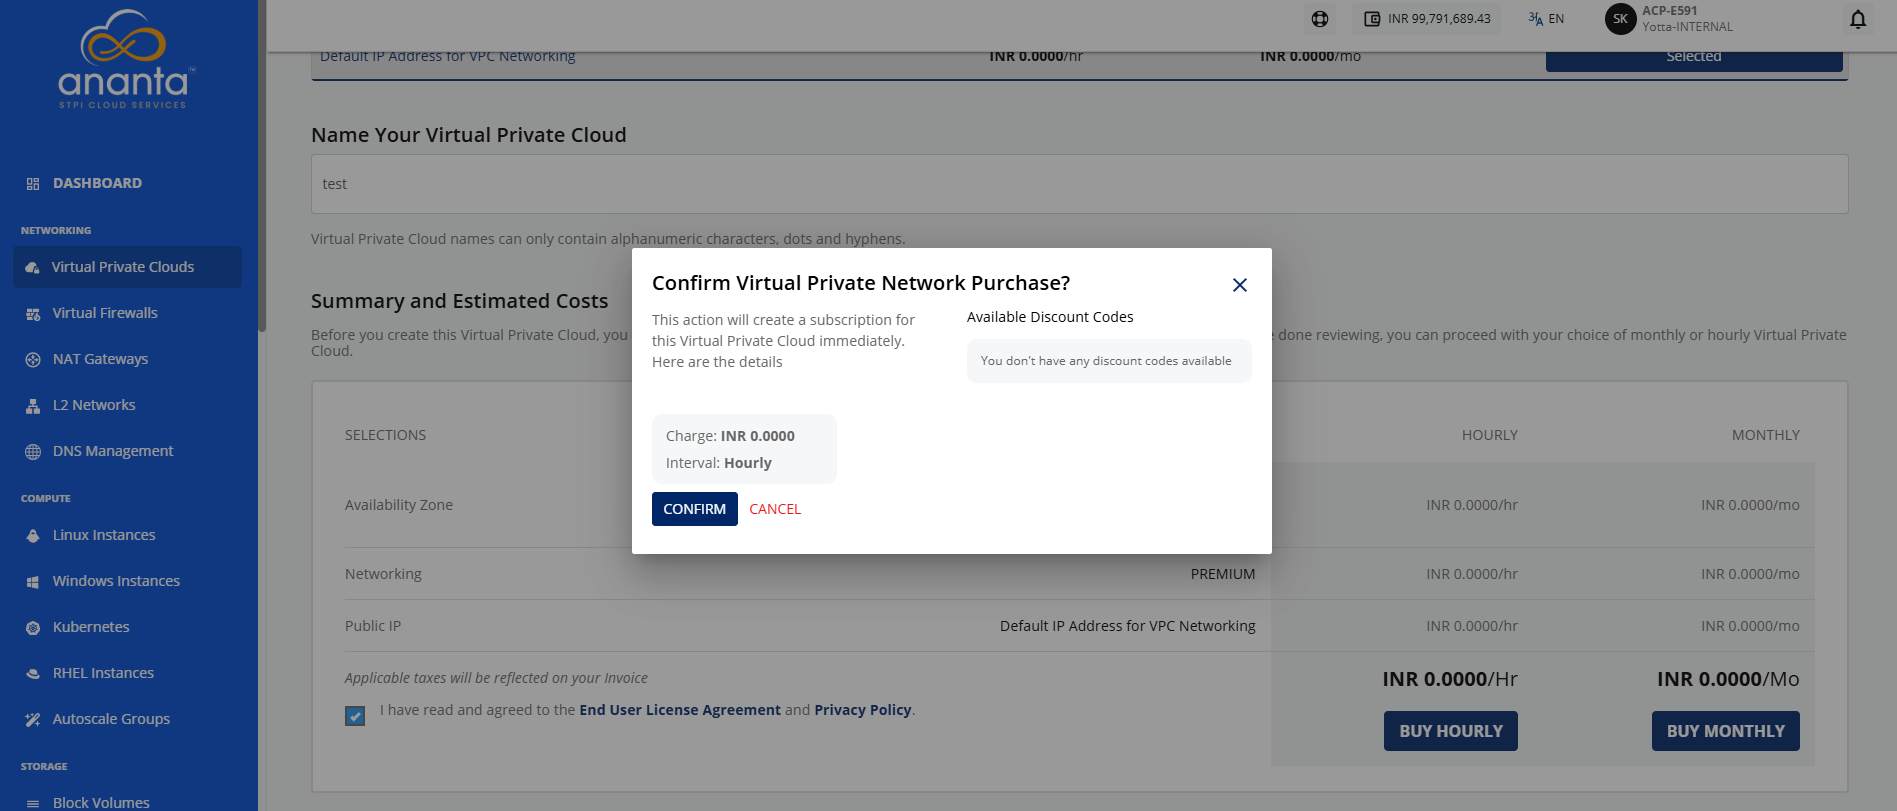
Click the Buy Hourly or Buy Monthly button, a confirmation screen appears, where you can apply discount code (if available):
-
Click Confirm.
Once ready, you get the notification of this purchase on your email address on record.
This might take up to 5-8 minutes. You may use the Cloud Console during this time, but it is advised that you do not refresh the browser window.
Viewing Available VPCs
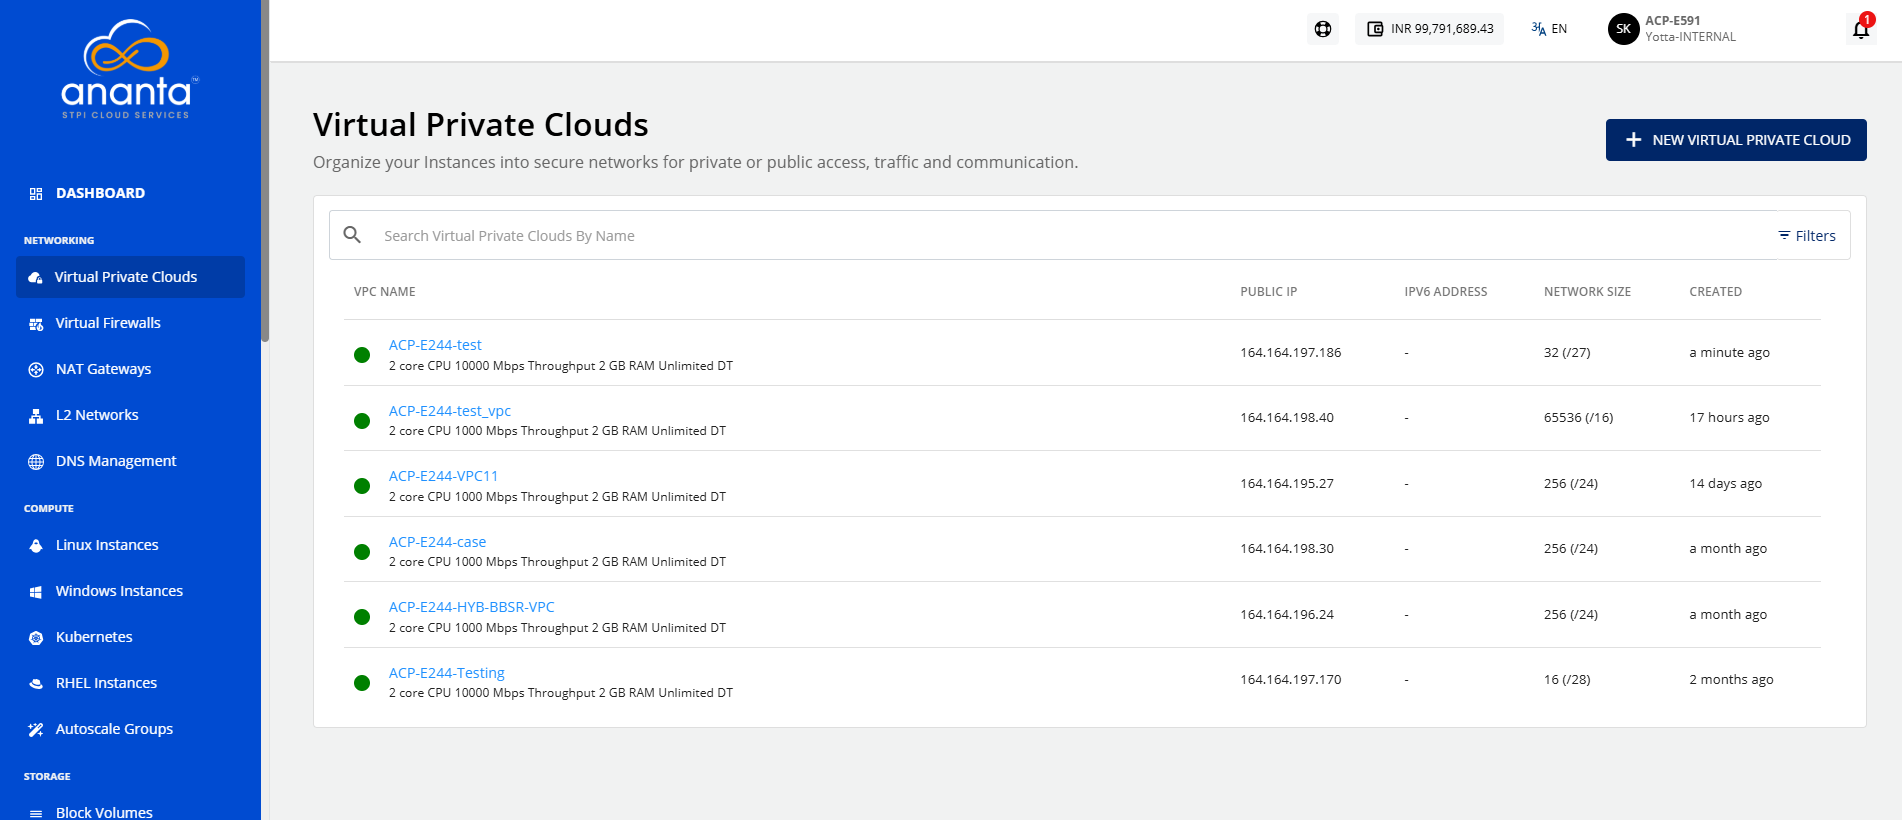
To view the created VPCs, navigate to Networking > Virtual Private Clouds. The created VPC is displayed with the following details:
- VPC Name
- Public IP
- IPv6 Address
- Network Size
- Created
Viewing VPC Details
To view a list of tabs and the various operations that you can perform, click the VPC Name. The following screen appears with these details:
-
Configuration
-
Availability Zone
-
NICNET IP
-
Created
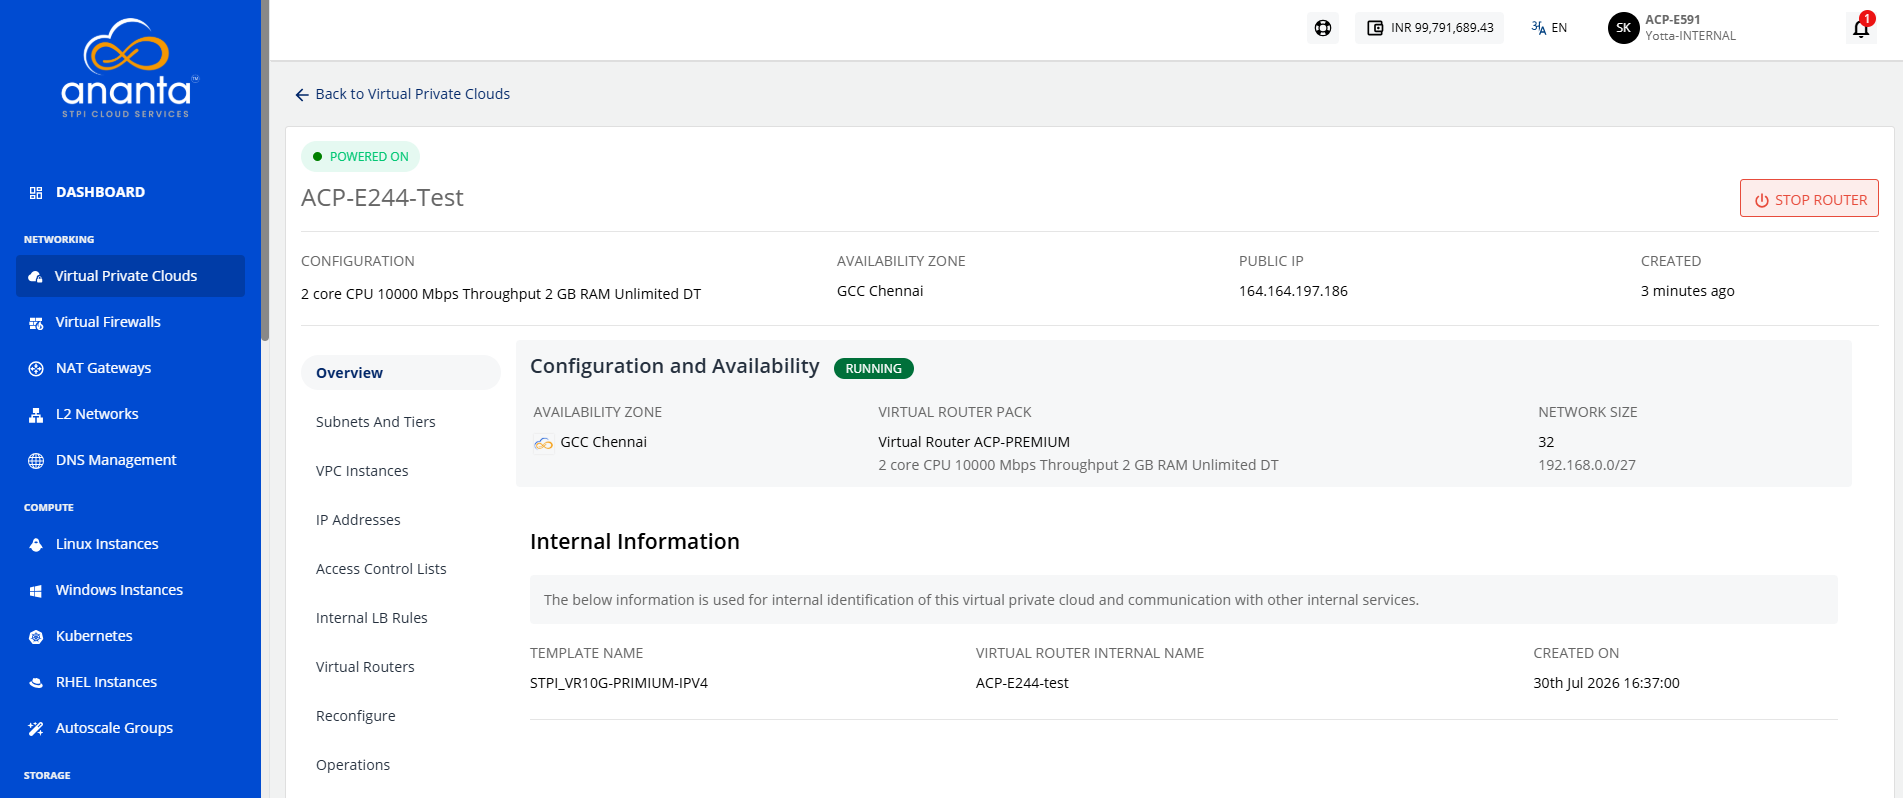 Along with the summary, the following information is readily available in the Overview tab:
 -
Configuration and Availability
- The instance's status, RUNNING, is displayed in green, whereas STOPPED is displayed in greyed out.
- Information about Availability Zone.
- Information about the Virtual Router Pack.
- Information about the Network Size.
-
Internal Information This displays the information that is used for internal identification of this VPC router and communication with other internal services.
- Template Name
- Virtual Router Name
- Created On